
When it comes to choosing the right paint colour for your home, testing is essential.
Paint charts and online inspiration are helpful starting points, but nothing compares to seeing the real thing on your own walls.
The way a colour behaves in your space—under your light, next to your floors, furniture, and fabrics—can be surprisingly different from what you thought or wanted. Patience is key, but so is having a plan for testing.
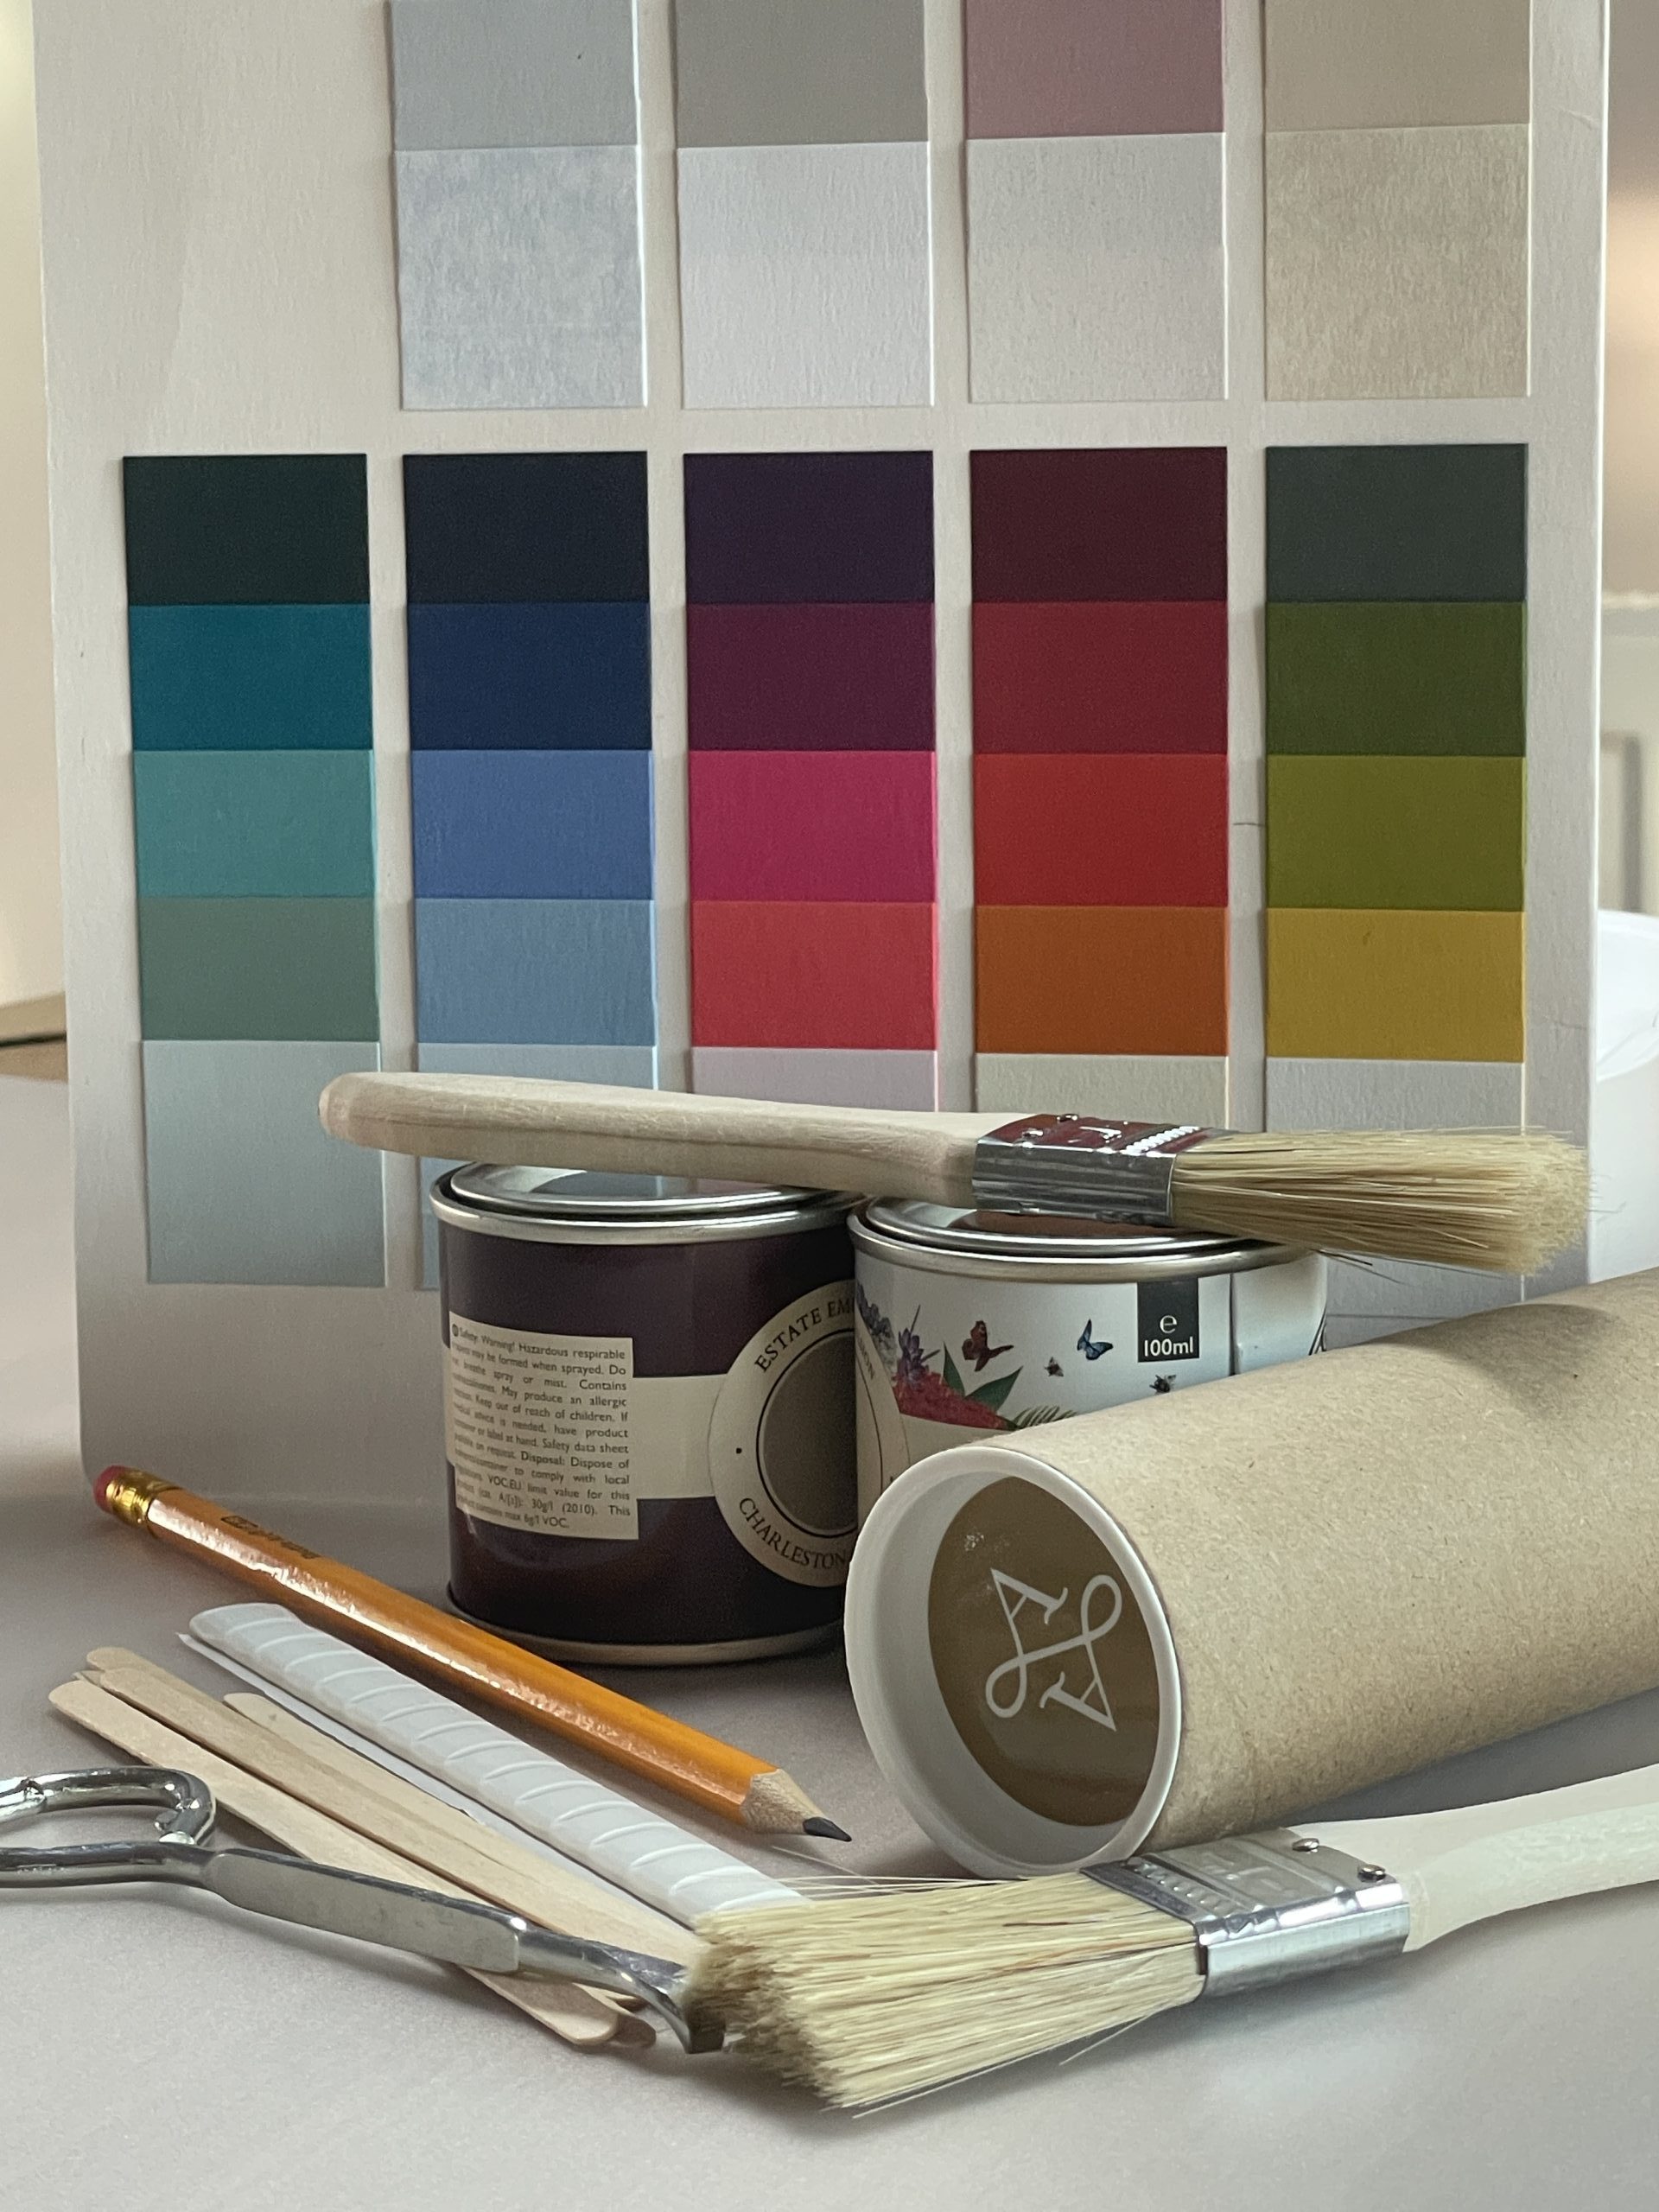
Tester pot kit, available on Ebay.
I really can’t say this enough: painting testers directly onto the wall gives you a false reading. The existing colour beneath will interfere with how your eye sees the new shade. And when you use lining paper instead, you can move your samples around the room easily—you’re not left with a hopeful cacophony of colours patched over your walls.
Lining paper also allows you to go any shape, large or small, go round corners so you can see how shadows will appear and you can cut to size for areas like recesses around windows or awkward corners.
When you paint onto paper, you are also really seeing how the paint behaves – how it covers and dries, how many coats you’ll need and that can be especially true of darker colours – like deep blues. (They have less white pigment in them, some none at all, and it’s the white that can really help with coverage).
Use white tac to attach lining paper to walls, it is less damaging to existing paint than tape and most low-tac or sensitive tapes are bright colours and become yet another distraction to the eye.
I’ve specified a one inch paintbrush and the reason for that is yes, in theory you could use any size brush to paint on lining paper – but a one inch brush will fit perfectly into a small tester pot or tin and will also cover a large area of paper in not too long a time.
A small warning – you may actually enjoy this.
What you’ll need to test paint in your own home
Think of this like prepping for a recipe. With the right tools, the process is smoother, cleaner, and gives far better results. Here’s what I recommend:
- Lining paper sheets (A4 or larger): Your base for sample swatches—far better than painting straight onto the wall.
- Paint tester pots: From the brand you’re most likely to use for the final job.
- Paint tin opener: Saves your cutlery and your fingers.
- 1 inch paint brush: Anything wider and you’ll not get it in the pot.
- White tac: For attaching your samples to different walls without damage.
- Pencil: For labelling the paint names on the back.
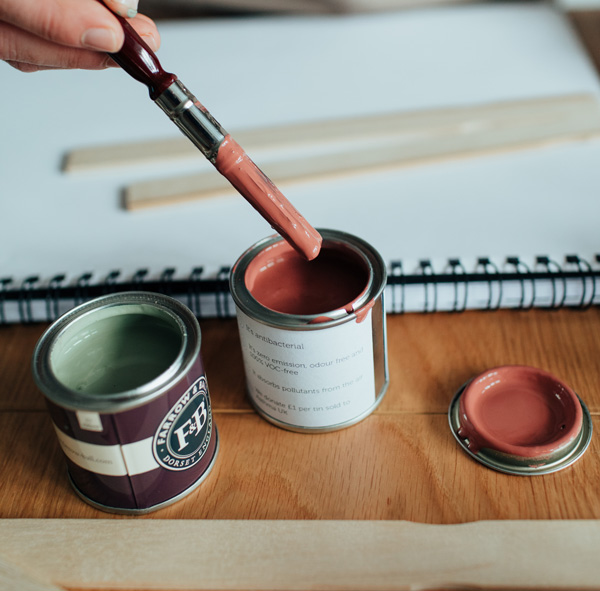
Getting a sense of how the paint behaves.
You should be able to find everything listed above in a good decorating centre, or alternatively order my Tester Pot Kit, available via this eBay link. It’s curated to save you time, money and to make sure you have everything you need to hand. All you will need to add is the sample pot of the colour you wish to test.
Step-by-Step: How to Test Paint Properly
- Paint onto lining paper (not walls!)
Place the paper on a flat surface and apply one coat of paint, close to—but not over—the edges. Once dry, apply a second coat. For deep colours, especially blues, a third coat may be needed. Get a feel for the paint – how it spreads, covers and dries.
- Trim the edges and label
Once fully dry, trim the paper to remove the white borders. This helps you to position the colour cleanly up against skirtings, tiles, switches, sockets, or wallpaper. Write the full name of the paint on the back of the paper—paint often changes as it dries, so you’ll want to track your tests clearly.
- Test one wall colour at a time
Stick your painted sheet to the wall using white tac. Colours will appear differently on a north-facing wall compared to a south-facing one, and artificial light will shift things again. Testing similar colours side by side will confuse your eye, so always only test one colour at a time. If you’re planning different colours on adjacent walls, test them at the point they’ll meet—but always start with one at a time.
- Observe at different times of day
Morning, noon, afternoon and evening light will all affect the colour. If it looks cool at breakfast but warm by tea time, that’s useful insight – so compare that information with how you use the room, and when.
- View alongside your fixed elements
Hold the samples next to your flooring, worktops, sofas, tiles, or curtains—anything that won’t be changing. You’ll soon see which combinations are harmonious and which feel off.
- Take your time
Leave your samples up for at least 48 hours. The right colour will still feel right after a few days. If you’re hesitating, trust your instincts—it might not be the one. If it does feel right – remember to cut and keep a small, postcard sized piece of the painted paper and label it. I can’t tell you how useful this is to have to hand for testing with other elements of your room you may have yet to decide upon, like soft furnishings, tiles, flooring etc.
If you need help choosing colours before you start testing then do have a read of my guide on how to choose the right colours for your home.
Until next time, Happy Decorating!
Ashley
I’m an interior painter & decorator and colour consultant. I help homeowners take the guesswork out of decorating and create spaces that feel just right. This is More Than Four Walls where I share the deeper side of decorating—colour choices, creative process, and the quiet power of home. Join me on Instagram or subscribe to the Substack newsletter for thoughtful updates, real project insights, and seasonal inspiration. Or, if you’d like to book a personal appointment click here.

Leave A Comment